
Last updated August 25, 2026
Free in-home measure and quote - PGT, CGI and CWS impact lines compared on your actual openings, style by style
Sliding glass doors
Impact garage doorsPGTCGI
 Before
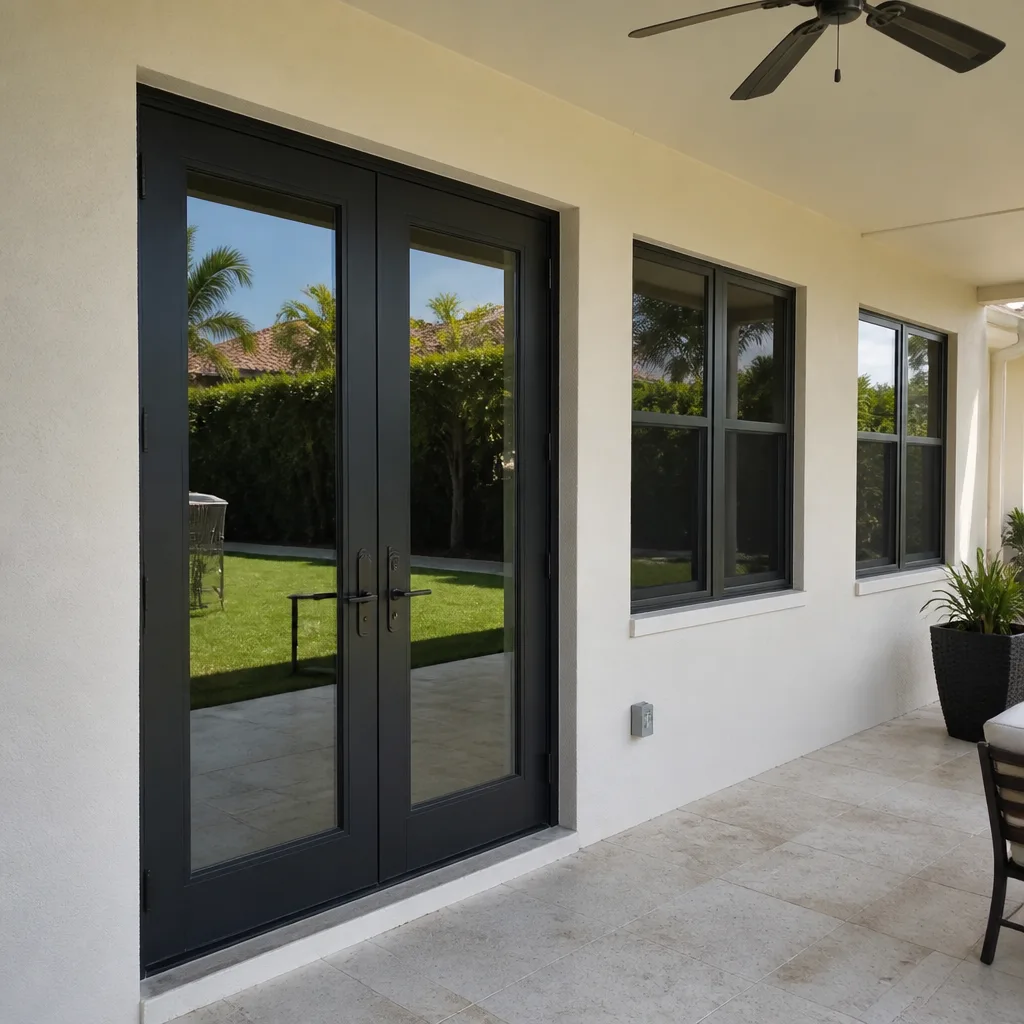 After
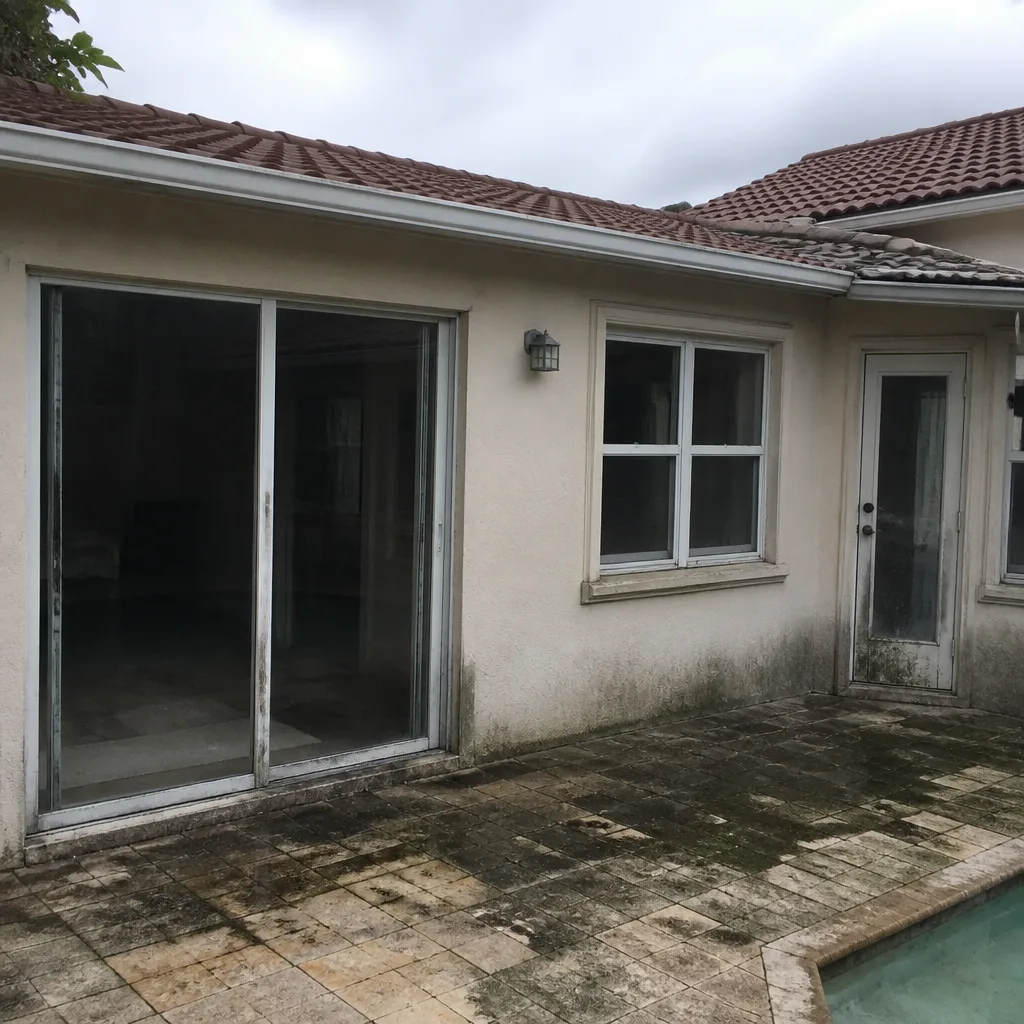 Before
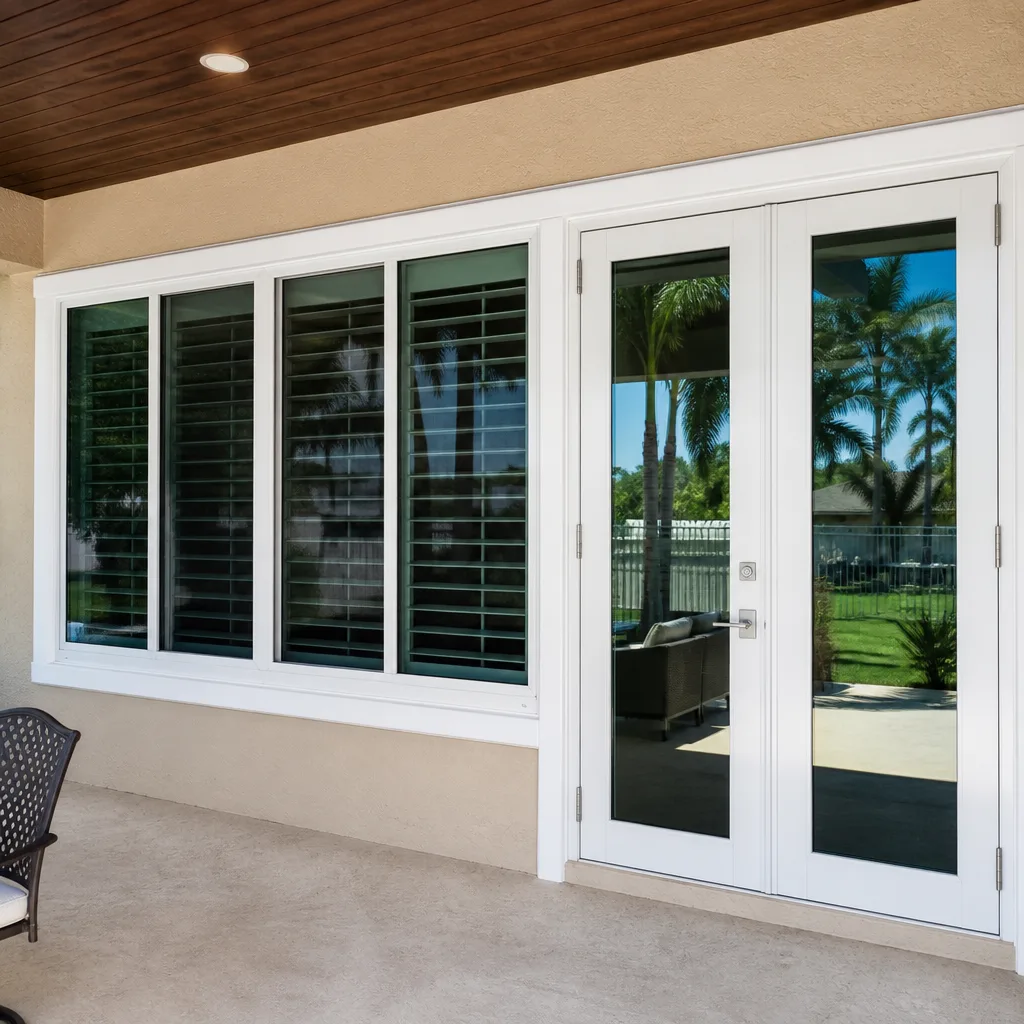 After
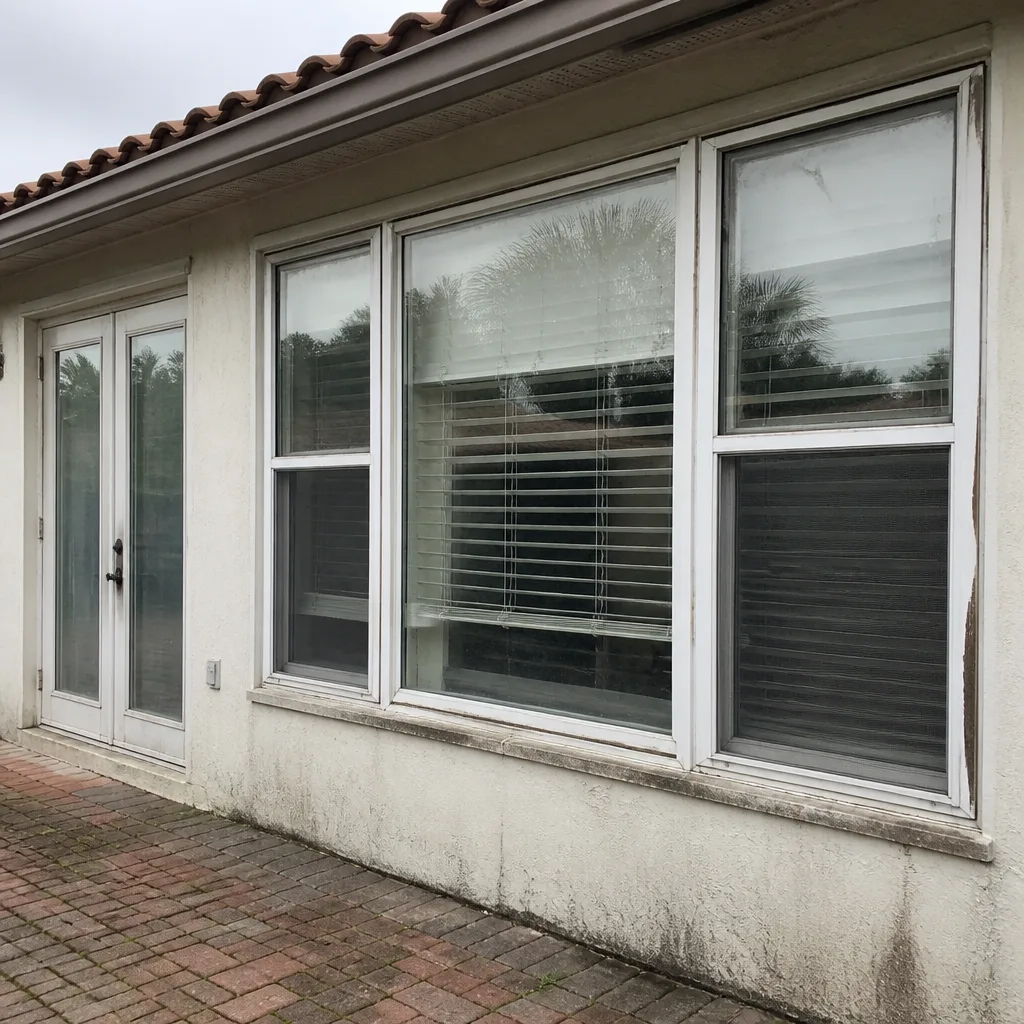 Before
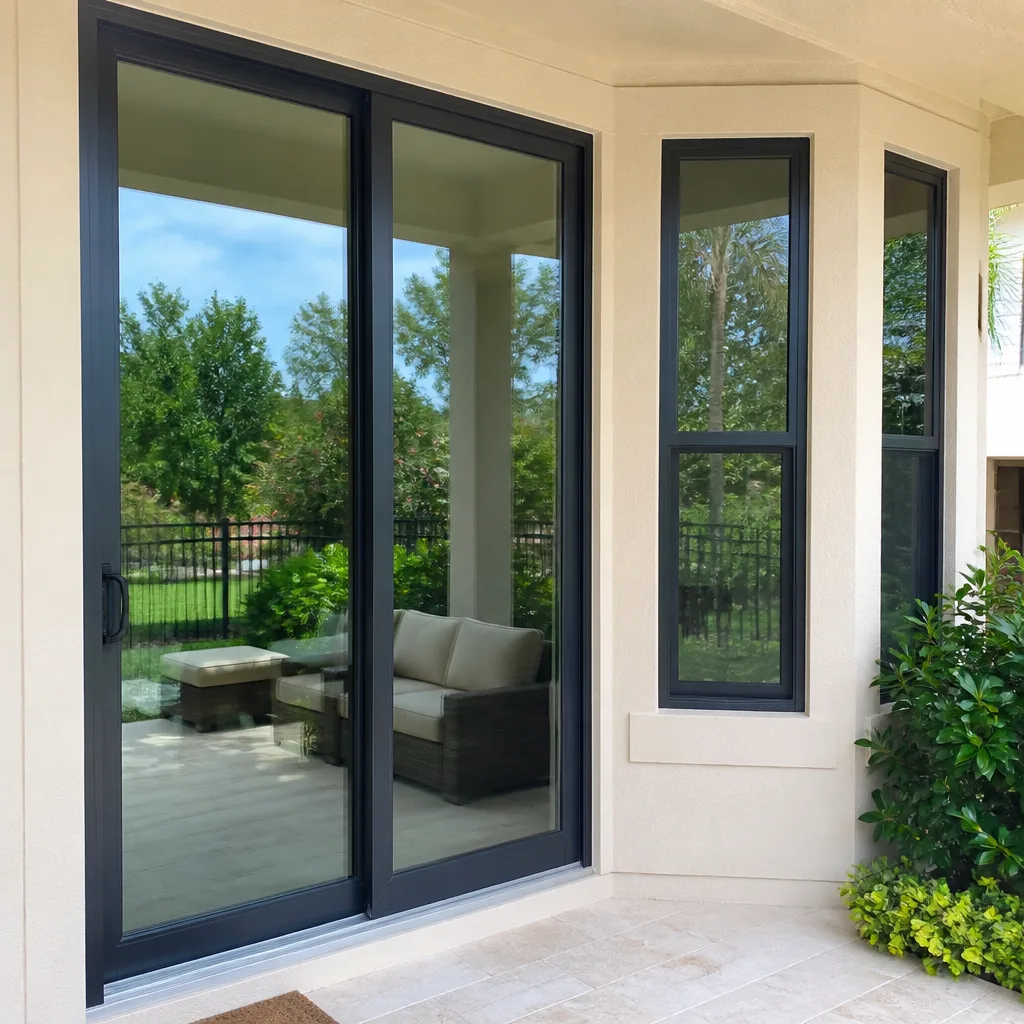 After
Window Installation Maintenance Checklist for Wellington Homeowners
A window that’s properly installed and maintained in Wellington should give you 20 to 30 years of service, but the ones that fail early almost always fail for the same handful of reasons: a seal that got ignored, a weep channel that clogged, a frame that shifted after a storm. The frustrating part is that most of those failures are preventable with about an hour of attention twice a year. This guide lays out exactly what to check, when to check it, and what actually needs a professional’s hands versus what you can handle on a Saturday morning. You’ll also learn the Wellington-specific details that affect window longevity here: the humidity, the afternoon thunderstorms, the salt air, and the building codes that changed after Hurricane Andrew.
Quick Answer
Wellington homeowners should inspect and clean their windows twice a year, focusing on seals, tracks, weep holes, caulking, and hardware. The most important maintenance tasks are clearing drainage channels before rainy season, checking for failed seals (fog between glass panes), lubricating moving parts with silicone spray, and resealing exterior caulk every 5 to 7 years. A properly maintained window installation in Wellington should last 20 to 30 years, but only if you catch small problems before they become structural ones.
Table of Contents
- Why Wellington’s Climate Demands Attention
- The Seasonal Maintenance Calendar for Wellington Homes
- Frame and Seal Inspection: What to Look For
- Track, Roller, and Hardware Maintenance
- Glass and Glazing Care in a Humid Climate
- Caulking and Weatherproofing: The First Line of Defense
- What a Professional Inspection Covers
- Common Mistakes to Avoid
- When to Call a Professional
- Frequently Asked Questions
- The Bottom Line
Why Wellington’s Climate Demands Attention
Wellington sits in a climate zone that punishes windows harder than most places in the country. We’re talking about ten months of heat, six months of near-daily rain, and a hurricane season that runs from June through November. South Florida receives roughly 60 inches of rain annually, and Wellington’s flat terrain means standing water and high ambient moisture are constants. That combination does three specific things to window installations.
First, the humidity attacks seals. The insulating gas between double-pane glass units breaks down faster here than in drier climates, and once the seal fails, you get the fogged-glass look that means the window has lost its insulating value. Second, the rain cycle means drainage channels and weep holes fill with debris, and a clogged weep hole in Wellington is not a cosmetic issue; it’s how water backs up into the frame and starts rotting the sill. Third, the summer sun here is relentless, and UV exposure degrades exterior caulking and weatherstripping faster than manufacturers’ general guidelines suggest. A bead of caulk that would last eight years in Ohio might give you five in Wellington.
There’s also the storm factor. Windows installed before 2002 in Wellington may not meet the impact-resistance requirements that Florida building codes now mandate for new construction and major renovations. That matters not just for safety but for maintenance: older, non-impact windows are more likely to shift in their openings during high winds, which breaks seals and throws off the alignment of the sash.
The Seasonal Maintenance Calendar for Wellington Homes
Twice a year is enough for most homes, but timing matters here. You want to schedule your checks around the two things that define Wellington’s calendar: rainy season and hurricane season.
Step 1: May Inspections (Before Rainy Season)
May is the most important inspection month of the year in Wellington. Rainy season starts in late May or early June, and once the daily afternoon storms begin, the conditions for water intrusion are constant. Here’s the sequence that catches the most problems:
- Clear every weep hole at the bottom of your exterior window frames using a small brush or compressed air. In Wellington, these fill with a mix of dust, pollen, and grass clippings from landscaping, and a clogged weep hole is the single most common cause of water damage we see in this area.
- Test every window, opening and closing it fully to check for binding, sticking, or unusual resistance. A window that does not operate smoothly is telling you something about its alignment, and alignment problems get worse.
- Check exterior caulking around every window perimeter with your eyes and a fingertip. Look for cracking, separations, or gaps. A bead that has pulled away from the stucco or trim needs to be redone before the daily rains arrive.
- Inspect weatherstripping on the bottom of each sash. Melted, flattened, or missing weatherstripping is how conditioned air escapes in summer and how wind-driven rain finds its way inside during afternoon storms.
- Look for fog or haze between glass panes. If you see it, that’s a failed seal. Mark the window and call for an assessment; it won’t clear up on its own.
Step 2: November Inspections (After Hurricane Season)
November is your post-season reset. Hurricane season ends November 30, and the weeks after that are the right time to assess what the season did to your windows. Check for frame shifting by making sure every window still opens and closes without resistance. Look for new hairline cracks in the caulking. Inspect the interior drywall around windows for any staining or softness that indicates water made it past the seal at some point during the season. In Wellington, a summer storm can push water horizontally at 60 miles per hour, and small breaches in the weatherproofing layer may not show up until weeks later.
Ongoing: Monthly Visual Sweep
Once a month, walk the exterior of your home and look at each window for about ten seconds apiece. You’re checking for visible cracks, missing caulking, debris in the track, and anything that looks different from the month before. This is not a deep inspection; it’s the cheap insurance that catches a problem while it’s still a $50 fix instead of a $500 repair.
Frame and Seal Inspection: What to Look For
The frame is the part of the window that takes abuse from Wellington’s heat and moisture cycles, and the seal is the fragile line where the window meets the wall. Both need regular attention.
Start with the frame material. Vinyl frames expand and contract with temperature changes, and over a decade of South Florida heat, a vinyl frame can warp enough to break the seal between the glass and the frame itself. Aluminum frames, common in older Wellington homes built before the impact-window era, conduct heat and can develop corrosion if they’re near salt air or if the finish has been scratched through. Wood frames are rare in this climate for good reason; if you have them, you need to be checking for rot at the bottom corners after every rainy season.
For the seal, the key is understanding what a failed seal looks like before it turns into a visible problem. A seal can be compromised long before the glass fogs. Look for the following signs:
- Distortion in the glass reflection: if your window has a slight wavy or distorted look when you catch it at an angle, the pressure seal may be failing.
- Condensation between panes during temperature swings: this often appears first in the early morning or after an afternoon storm, and it means the inert gas between the panes has escaped and been replaced by moisture-laden air.
- Marked difference in temperature between the center of the glass and the edges on a hot day: a functioning insulated glass unit should hold a consistent surface temperature.
In Wellington, failed seals on older windows are common enough that we expect to see them on any home where the windows are approaching 15 years old. The fix is a glass replacement, not a full window replacement in many cases, but an inspection will tell you which one makes sense for your situation.
Track, Roller, and Hardware Maintenance
Windows that slide, roll, or swing all rely on moving parts, and moving parts in a humid climate attract grime. Wellington’s dust mixes with moisture to form a paste that builds up in tracks and slows down rollers and hinges. Left alone, it becomes the kind of gunk that makes a window feel sticky every time you open it.
Here’s the maintenance routine that keeps hardware working the way it should:
- Vacuum the track. Use a narrow attachment to pull out loose debris, dust, and dead bugs. This is the first step and it does most of the work.
- Wipe the track with a damp cloth to remove the stuck-on residue. For stubborn buildup, a mild soap solution works; avoid degreasers that can strip the protective finish from aluminum or vinyl.
- Lubricate moving metal parts with a silicone-based spray. Do not use WD-40. WD-40 is a penetrant and a moisture displacer, not a lubricant, and it leaves an oily residue that attracts dirt. Silicone spray lubricates without the gunk problem.
- Check rollers on sliding windows and doors. If the window or door drags, wobbles, or produces a grinding sound, a roller may be worn or misadjusted. This is a repair, not a maintenance task, and a professional can usually replace rollers in one visit.
- Tighten visible screws on handles, locks, and hinges. Loose hardware wears faster and can damage the surrounding frame material.
For homes in Wellington with salt air exposure, even mild exposure from the coast, aluminum hardware can corrode over time. If you notice white powdery deposits on tracks or handles, clean them off and keep the area lubricated to slow the process. And remember: a window that’s hard to operate in smooth times becomes a problem in an emergency when you need to close it quickly ahead of a storm.
Glass and Glazing Care in a Humid Climate
The glass itself needs less maintenance than the surrounding parts, but there are a few Wellington-specific things worth knowing.
Cleaning is straightforward: a standard glass cleaner or a mix of water and white vinegar works, applied with a microfiber cloth. Avoid ammonia-based cleaners on tinted or coated glass, because ammonia can break down some low-E coatings over time. If your windows have a special coating, check the manufacturer’s guidance before using anything stronger than water and mild soap.
In Wellington’s humidity, you’ll notice that interior glass surfaces collect condensation less often than exterior ones during the summer. That’s a sign your windows are doing their job of maintaining a temperature difference. But consistent interior condensation on the room side of the glass, especially in the mornings, points to a ventilation problem in the home or a failed seal allowing moisture between the panes. If the condensation is between the panes, that’s a seal failure, plain and simple. If it’s on the room side, look at the home’s humidity levels; Wellington homes with older AC systems or poor ventilation can run humid enough to make any window sweat.
Impact glass, which became the code requirement for new homes and many replacements in Wellington after 2002, is built to a different standard than standard insulated glass. The laminate layer that makes it impact-resistant also means the signs of damage look different. A small crack in impact glass may not shatter the way standard glass does; it may look like a scratch or a star pattern. If you see that, do not ignore it. The impact rating is compromised, and the window needs replacement before the next hurricane season rather than after it.
Caulking and Weatherproofing: The First Line of Defense
Caulking is the silent workhorse of a window installation. It’s the bead of flexible material that runs around the exterior perimeter where the window frame meets the wall, and its job is to keep wind-driven rain from finding the gap between window and structure. In Wellington, where afternoon storms arrive with sideways rain and 40-mile-per-hour gusts, caulking is what stands between your window and water intrusion.
Quality exterior caulking in this climate should be a high-grade silicone or polyurethane product rated for exterior exposure and mildew resistance. Cheap acrylic latex caulk does not survive Wellington weather; it hardens, cracks, and peels within a couple of years. If you’re redoing caulking yourself, use a product the professionals use, and follow these steps:
- Remove old caulking completely with a caulk removal tool and a scraper. New caulk over old caulk doesn’t bond, and it looks like it.
- Clean the joint with rubbing alcohol to remove dust, old residue, and any oils that would interfere with adhesion.
- Apply caulk evenly, keeping the bead consistent and pushing it into the joint so it makes full contact with both surfaces.
- Tool the bead with a wet finger or a finishing tool for a smooth, concave profile that sheds water.
- Let it cure fully before painting or exposing it to moisture. Most quality caulks need 24 hours.
The weatherstripping on the moving parts of the window is the interior counterpart to the caulking. It compresses to form a seal when the window closes, and in Wellington heat, weatherstripping can melt, flatten, or detach from the frame. Check it in May and November. Replacing a flattened weatherstrip is a ten-minute job that makes a measurable difference in your air-conditioning bill.
What a Professional Inspection Covers
Some things on a window are simply not visible or assessable from the outside or the inside with the naked eye. A professional inspection goes deeper, and in our experience, it typically uncovers one or two issues the homeowner hadn’t noticed. Here’s what we check when we inspect a Wellington home’s windows:
- Frame squareness: using a level and diagonal measurements to confirm that the window is sitting true in its opening. A window that’s even an eighth of an inch out of square will bind, gap, and wear poorly.
- Glass seal integrity: using the right tools to spot early seal failure before visible fog appears.
- Flashing condition: checking the hidden flashing above and around the window, which protects the rough opening from water intrusion and is invisible once the window is trimmed out.
- Anchor and fastener tightness: confirming that the window remains securely fastened to the structure after years of hurricane-force wind cycles.
- Interior water damage: looking for moisture staining or efflorescence inside the frame or in the wall cavity around the window, which indicates a problem that may be hidden behind drywall.
- Operation under load: checking that every moving part functions the way it should and that locks engage fully and securely.
If your windows are more than 15 years old and you haven’t had a professional inspection in the last decade, it’s worth the visit. In Wellington, that inspection often finds small problems that are still cheap to fix: a compromised seal here, missing flashing there, a roller that needs replacing. Those are the fixes that keep a 15-year-old window from becoming a 12-year-old window in terms of remaining lifespan.
Here at TruePane Windows & Doors home, our maintenance inspections include all of the above plus a written summary of what we found, what needs attention now, and what will need attention within the next couple of years. That summary is useful when you’re planning ahead for repairs and budgeting for replacements.
Common Mistakes to Avoid
- Ignoring fogged glass. A window with moisture between the panes has already lost its insulating gas, and in Wellington’s climate, it will only degrade further. Delaying the repair means more heat transfer and a higher electric bill every month it’s left alone.
- Using WD-40 on tracks and hardware. It seems like the obvious fix, but WD-40 leaves a residue that collects dirt and turns into the same grime you were trying to remove. Use silicone spray instead.
- Painting over weep holes. It happens more than you’d think during exterior repainting. A painted-over weep hole traps water inside the frame and accelerates rot and corrosion. Check those channels after any exterior paint job.
- Caulking over old caulk. It doesn’t bond, it doesn’t last, and it gives you a false sense of protection. Remove the old bead completely before applying a new one.
- Skipping the spring inspection. Wellington homeowners who only inspect in the fall are catching problems months after they started. The May check is the one that catches the issue before rainy season does.
- Replacing a fogged window insert instead of the glass unit. Most fogged-glass situations can be fixed with a glass pack replacement, which costs a fraction of a full window replacement. A knowledgeable inspection will tell you which route makes sense.
When to Call a Professional
Some maintenance tasks are fine to handle yourself: cleaning tracks, clearing weep holes, tightening screws, applying a fresh bead of caulk if you know how to prep the joint correctly. But certain situations in Wellington call for a professional. If you see fog between glass panes, the seal has failed and the fixing usually means replacing the insulated glass unit, which is not a DIY job. If a window has shifted in its opening so it no longer opens and closes smoothly, the frame needs to be re-trued or repositioned. If you’ve noticed water staining on interior drywall around a window, the source of the leak needs to be found and addressed before the wall is patched. And if you have impact windows showing any crack or star pattern, the structural integrity has been compromised and the window needs replacement, not repair.
TruePane Windows & Doors offers free estimates in Wellington, call (561) 349-4826 to schedule one. We’ll come out, inspect your windows, and give you a straight answer on what needs attention and what can wait.
Frequently Asked Questions
Twice a year, once in May before rainy season starts and once in November after hurricane season ends, with a quick monthly visual sweep in between. Wellington’s climate cycles make the May inspection the most important of the year for catching drainage and seal issues before daily rains begin.
Clogged weep holes followed by ignored seal failures. In Wellington’s rainy climate, a drainage channel that fills with debris means standing water in the frame, and water in the frame is how window sills rot from the inside out without any visible sign until the damage is serious.
No. Fogging between the glass panes means the hermetic seal on the insulated glass unit has failed, and the gas between the panes has been replaced by moisture-laden air. The repair involves removing the old glass unit and installing a new sealed one, which requires the right tools and a level of care that justifies a professional’s visit. Call (561) 349-4826 to discuss options.
On average, 20 to 30 years for a quality installation with regular maintenance. Windows that never get attention, especially in Wellington’s heat and humidity, can develop problems as early as 10 to 12 years. The maintenance steps in this guide are what extend the lifespan toward the top of that range.
Yes. Impact windows use laminated glass to resist debris, and the signs of damage look different. A small crack in impact glass may appear as a scratch or a star pattern, and once the laminate is compromised, the impact rating is gone. Inspect impact glass carefully after any major storm and replace damaged units before the next hurricane season.
It depends on the window’s age, condition, and whether it meets current impact standards. Repairs make sense when the frame is still true, the glass is intact, and the window operates properly. When repairs start to stack up or the window has outlived its useful life, a replacement may be the better long-term investment. A free inspection will give you an honest recommendation either way. Call (561) 349-4826 to schedule one.
The Bottom Line
Windows in Wellington face a harder life than windows in most of the country, and the homes in this area do best with a twice-a-year maintenance rhythm that respects the climate: May inspections before the rains, November checks after hurricane season, and a quick visual lap every month. Weep holes need to stay clear, caulking needs to stay intact, and seals need to be caught at the first sign of failure. A homeowner who follows this checklist can expect a quality window installation to deliver two to three decades of service. A homeowner who skips the maintenance pays for it in fogged glass, rising utility bills, and water damage that could have been avoided. The work isn’t hard, and it doesn’t take long. It just has to be done.
Written by Dale Kessler, Owner at TruePane Windows & Doors, serving Wellington since 2008.
Six Reasons Homeowners Choose TruePane Windows & Doors
Impact systems engineered to design pressures up to +/-100, matched to your wind zone - your openings hold when the storm arrives.
Low-E insulated impact glass from our manufacturer lines commonly cuts monthly cooling bills 20-30%.
Laminated impact glass shuts out up to 40% of outside noise - traffic, neighbors, weather.
Monitoring services run $30-90 a month. Laminated impact glass resists forced entry around the clock, with no subscription.
Florida homeowners average around 25% savings on the windstorm portion of their policy after protecting every opening - some homes qualify for more.
A full impact package upgrades curb appeal, buyer confidence and appraised value in one project.