
Last updated August 27, 2026
Free in-home measure and quote - PGT, CGI and CWS impact lines compared on your actual openings, style by style
Sliding glass doors
Impact garage doorsPGTCGI
 Before
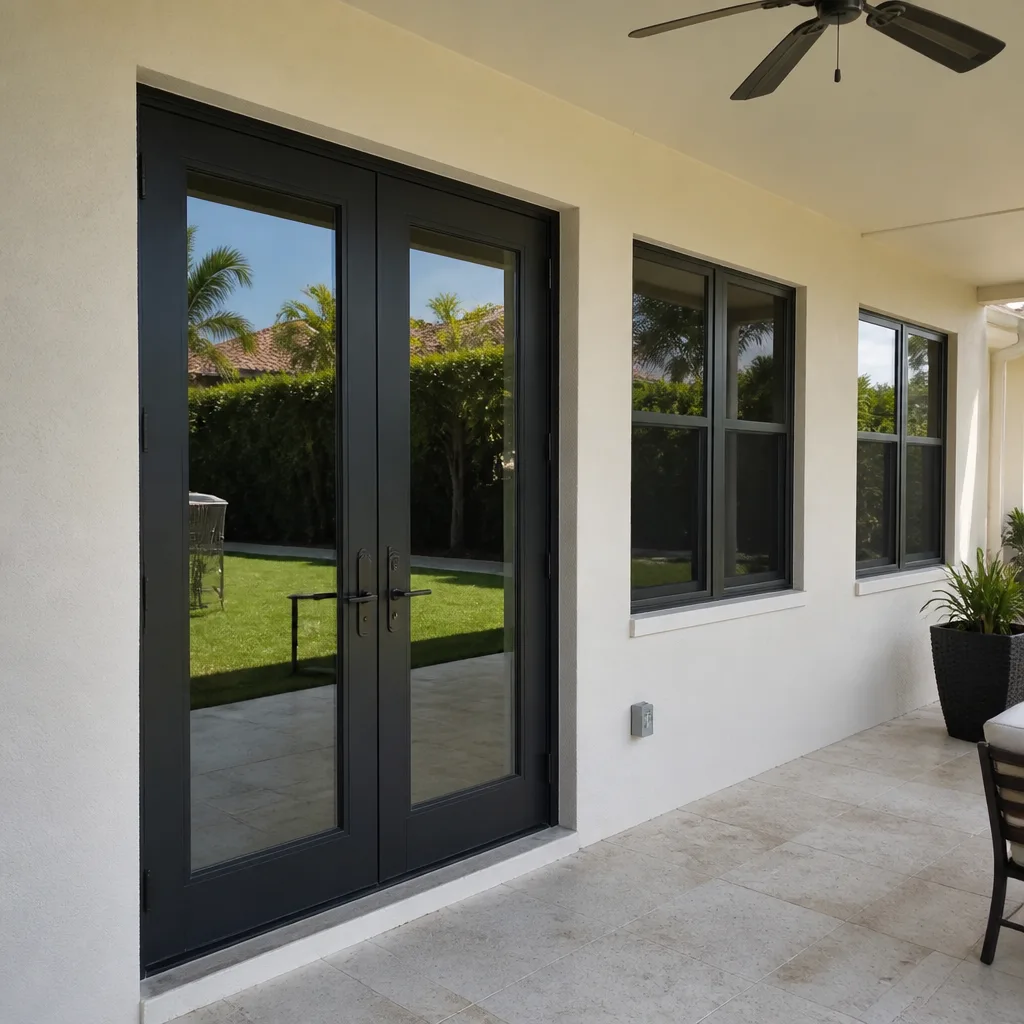 After
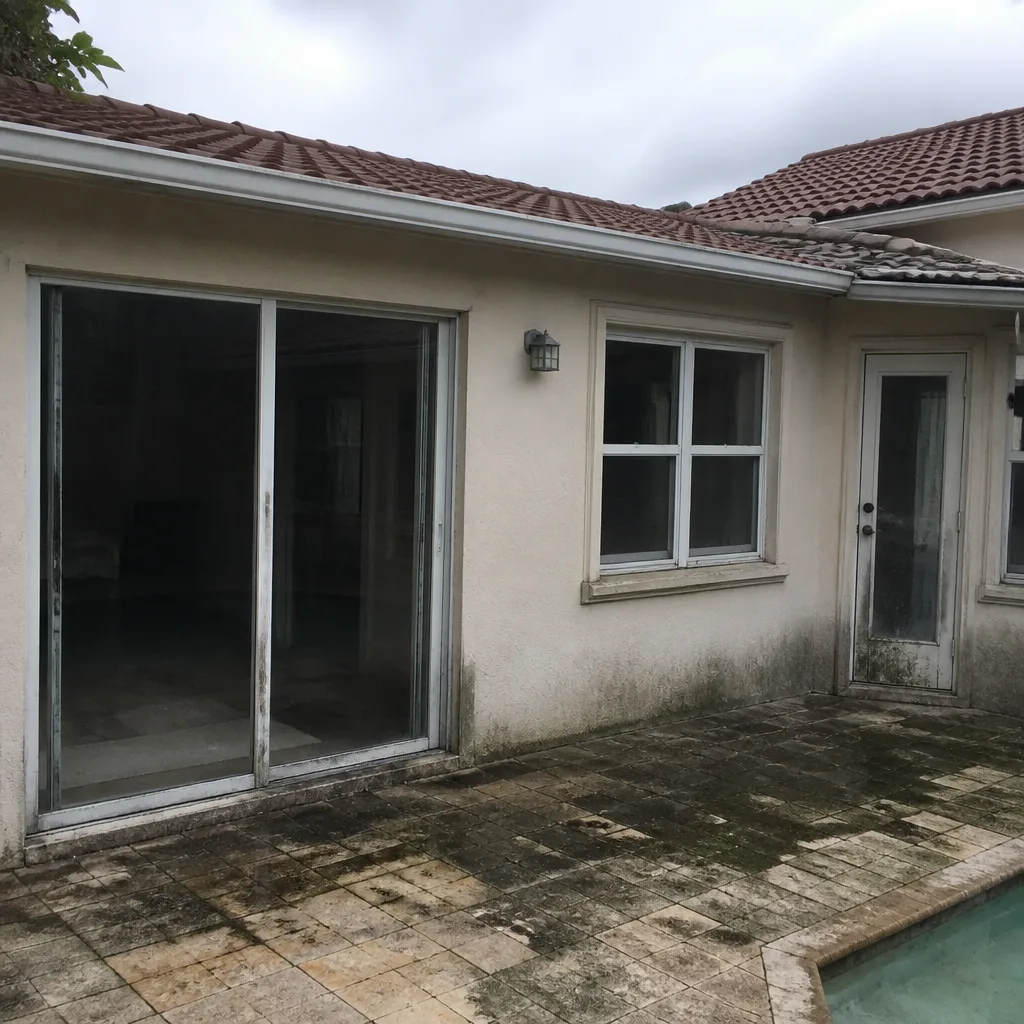 Before
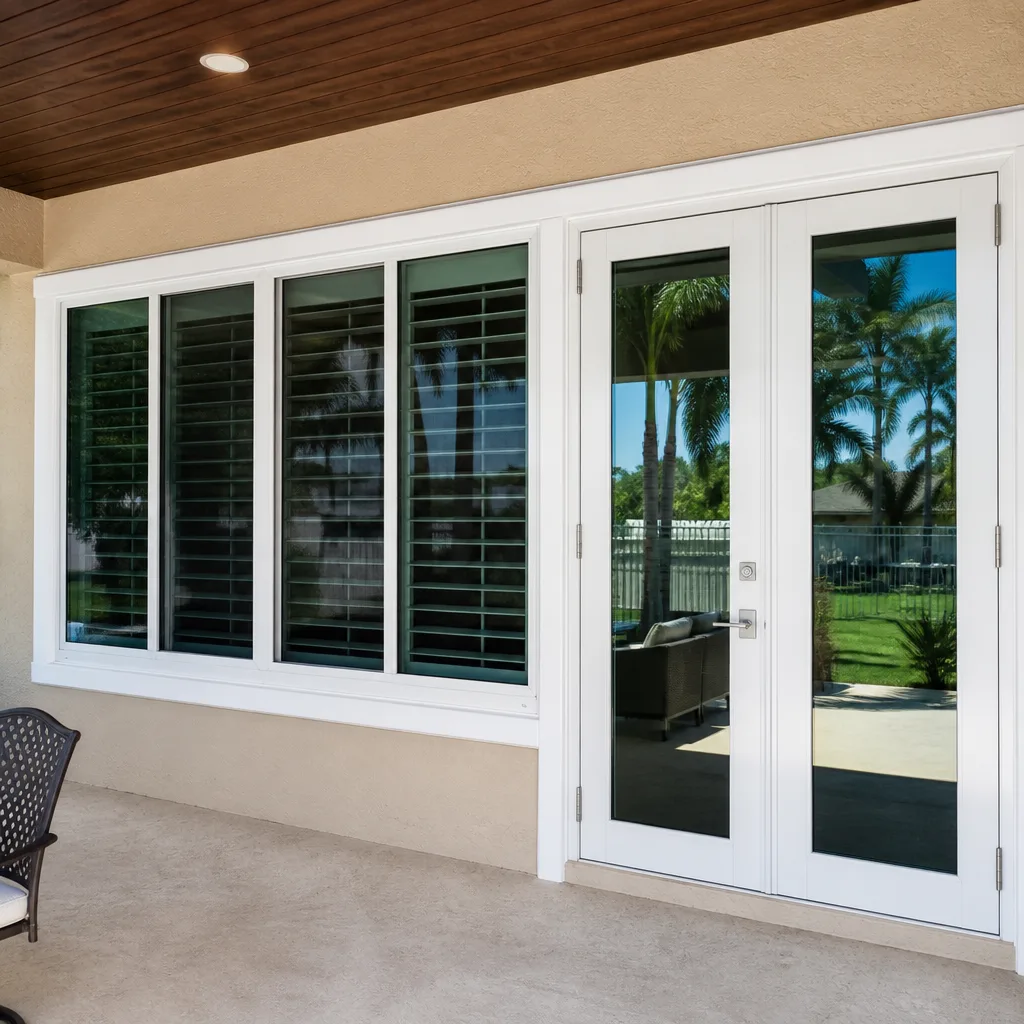 After
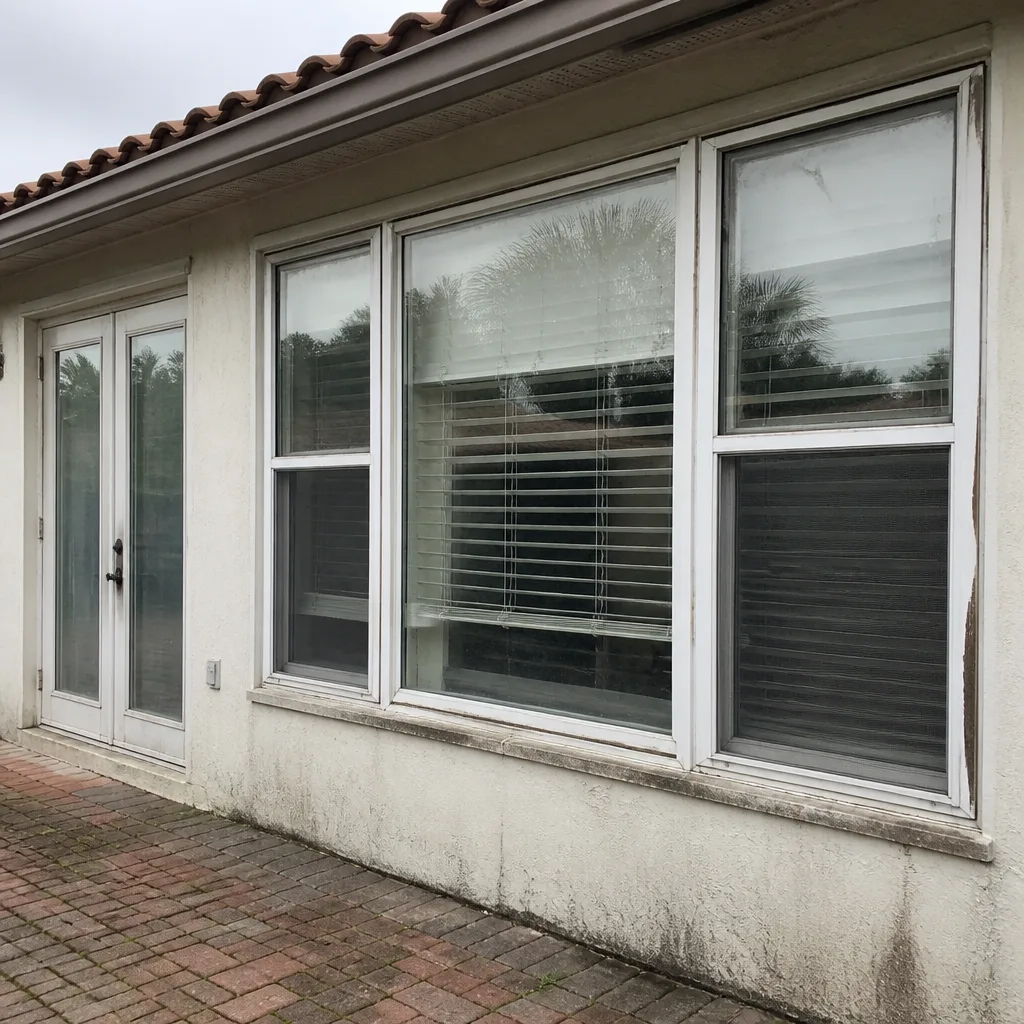 Before
 After
DIY vs Professional Windows & Doors: The Wellington Homeowner’s Decision Guide
Roughly seven out of ten window replacements we walk into after a homeowner attempted it themselves involve one of two things: a window that doesn’t open come July, or a leak that showed up with the first afternoon thunderstorm. The homeowner saved a few hundred dollars in labor and bought themselves a bigger problem. This guide walks through the real differences between doing it yourself and hiring a professional in Wellington, what it costs, what goes wrong, and how to know which route fits your house and your hands.
Quick Answer
For most Wellington homeowners, professional installation is the better call on any window or door that affects the building envelope, the warranty, or your home’s wind mitigation credits. DIY makes sense for small hardware adjustments, screen replacement, and cosmetic work. If the opening is out of square, the unit is impact-rated, or the manufacturer’s warranty requires documented installation by a licensed contractor, hire a professional.
Table of Contents
- What Wellington Homeowners Actually Pay: DIY vs Pro
- The Warranty Trap Nobody Talks About
- Wellington Climate: Why It Changes the DIY Math
- Permits, Code, and Wind Mitigation in Palm Beach County
- Which Projects Are Genuinely DIYable
- What a Professional Installation Actually Involves
- Signs Your Existing Windows Need More Than a DIY Fix
- Common Mistakes to Avoid
- When to Call a Professional
- Frequently Asked Questions
What Wellington Homeowners Actually Pay: DIY vs Pro
Here’s the honest math we see across Wellington, from the older ranch homes near the Wellington Country Club to the newer builds in Olympia and Versailles. A mid-grade double-hung replacement window runs roughly $290 to $400 per unit at a supply house. The same window installed by a professional runs $650 to $950 per opening, including labor, flashing, trim work, and disposal. The DIYer saves $300 to $500 per window on paper.
What that paper doesn’t show:
- Tool cost: A proper window install requires shims, a level at least 2 feet long, flashing tape, sealant, foam backer rod, and often a brake for bending aluminum trim. First-timers in Wellington routinely spend $200 to $400 on tools and materials they will never use again.
- Mistake cost: A cracked frame from over-shimming, torn house wrap, or a misaligned sash means buying a second window. That wipes out the savings on the first one and then some.
- Time cost: A professional crew sets most standard replacements in 45 minutes to 2 hours per window. A homeowner working alone on a Saturday will spend 4 to 8 hours on the first window, then get faster. Factor what your weekend is worth.
- Disposal cost: Wellington’s waste pickup will not take an old window in the green bin. A trip to the transfer station takes an afternoon and runs $20 to $50 in fees.
| Item | DIY Cost | Professional Cost |
|---|---|---|
| Standard replacement window (unit only) | $290-$400 | Included in install price |
| Installation labor per window | $0 (your time) | $300-$550 |
| Tools and materials (first-timer) | $200-$400 | $0 |
| Disposal of old unit | $20-$50 + your time | Included |
| Typical all-in cost per window | $510-$850 | $650-$950 |
In Wellington specifically, we also see homeowners factor in something called the July test. A window that operates smoothly in January may bind in the wet season when wood frames swell and humidity climbs past 80 percent. DIY installs that skip proper flashing and expansion gaps fail the July test more often than not.
The Warranty Trap Nobody Talks About
Most manufacturers of mid-grade and high-end windows, including Andersen, Pella, Marvin, and Milgard, write their warranty coverage with a condition attached: the window must be installed by a qualified professional according to the manufacturer’s installation instructions. If you install it yourself and the seal fails in year three, the manufacturer can and often does deny the claim.
The denial is not personal. It is actuarial. The manufacturer has no way to verify what happened inside your wall cavity. They cannot inspect your flashing tape or your shim pattern. So they write the warranty to require a paper trail, usually a contractor’s invoice and installation record.
Here is what that means for a Wellington homeowner:
- A fogged double-pane unit on a DIY install: you buy the replacement glass, roughly $120 to $300 per sash, plus your time.
- A fogged double-pane unit on a professional install with registered warranty: the manufacturer ships the replacement and the installer handles it.
- A door that binds after a DIY install: you fix it yourself, forever.
- A door that binds after a professional install: it is covered under the installer’s workmanship guarantee and the manufacturer’s finish warranty.
At TruePane Windows & Doors, we register both layers of the manufacturer warranty in writing before the truck leaves the driveway. The homeowner gets a document with the warranty durations stated, not a verbal promise. We call it The Keystone Standard. If the pane is not true, the job is not done, and the warranty is not real until it is on paper in your hand.
Wellington Climate: Why It Changes the DIY Math
Wellington sits far enough inland to dodge the worst salt spray, but close enough to the coast to catch the full force of summer storms. High humidity from May through October means sealant cure times stretch. Afternoon thunderstorms arrive with almost clockwork regularity. And hurricane season, June through November, is not a theoretical concern for a town that has rebuilt after more than one close call.
Three climate factors directly affect a window or door DIY project in Wellington:
- Moisture intrusion is the enemy. A window that leaks slowly behind the drywall will not announce itself for months. By the time you see the stain on the interior sill or the baseboard swelling, the framing behind it has been wet for a season. Professional installs use sloped sill flashing and back-dam details that first-time DIYers almost never get right.
- Thermal expansion is real here. Vinyl and aluminum expand and contract through Wellington’s hot days and cooler winter nights. An opening cut too tight in January will bow the frame in August. An opening left too loose allows air and water through the gaps.
- Impact protection is not optional for everyone. Homes in Wellington built after the early 2000s in communities like Olympia, The Isles, and Versailles typically have impact-rated windows or shutters as part of the original construction. Replacing any window on those homes with non-impact glass breaks the wind mitigation continuity, which can raise your insurance premium or trigger a failed inspection before closing.
In my experience across Wellington, the houses most likely to have DIY window problems are the older ranch homes along Big Blue Trace and Greenview Shores, where original aluminum frames were replaced piecemeal over decades. One room has a 1990s vinyl window, the next has a 2010s impact unit, and nothing matches. That is where the July test bites hardest.
Permits, Code, and Wind Mitigation in Palm Beach County
Palm Beach County requires a permit for any window or door replacement that changes the size of the opening or involves structural modification. Direct replacement of like-for-like windows, meaning same size and same style, may fall under a different category, but the safest read is this: almost every window replacement in Wellington needs a permit.
A permit is not a fine-print formality. It triggers an inspection, and that inspection verifies:
- The window meets Florida Building Code wind-load requirements for your specific wind zone.
- Impact-rated product is installed where impact protection is required.
- Flashing, anchoring, and drainage details meet code.
- The installation matches the manufacturer’s tested and approved installation method.
A DIYer can pull their own permit as a homeowner in Palm Beach County. The county allows owner-builder permits on residential property you live in. But the inspection will be done the same way, and if the inspector finds the flashing wrong or the anchoring insufficient, you will redo the work or hire someone who can.
Additionally, Wellington homeowners who carry wind mitigation credits on their insurance need documented installation to maintain those credits. A DIY install with no contractor invoice and no permit record may void the very credit that is saving you money every year. That savings often runs 20 to 40 percent off the wind portion of your premium, which dwarfs the labor cost of professional installation over the life of the windows.
Which Projects Are Genuinely DIYable
We are not going to tell you that every homeowner needs a professional for every task. That would not be a square deal, and it would not be honest. There are jobs around a Wellington home that a careful person with basic tools can handle.
Genuinely DIYable projects:
- Screen replacement: Torn screens on a lanai or porch are straightforward. You need a spline roller, new screen material, and new spline. $15 in materials and an hour per panel.
- Hardware tightening and adjustment: A loose handle, a striker plate that needs a quarter-inch shift, hinge screws that have backed out over years of use. These are ten-minute fixes with a screwdriver.
- Weatherstripping replacement: Foam tape, V-channel, or bulb seal on the bottom of a door. $10 to $25 in materials. Easy to remove and replace.
- Glass cleaning: Including the tracks and weep holes. Debris in the weep holes causes more window leaks in Wellington than failed sealant, and cleaning them is a five-minute job with a vacuum and a small brush.
- Caulk touch-up on interior trim: If the caulk is cosmetic and interior-only, it does not affect the weather seal. Exterior sealant is a different story and belongs to a professional.
Projects that look DIYable but are not:
- Fogged glass replacement: Replacing the insulated glass unit inside an existing frame looks easy in a YouTube video. It involves removing the glazing bead without snapping it, sourcing a correctly sized IGU, and setting it with the proper sealant. One wrong move and the warranty on the entire window is gone.
- Exterior recaulking: The exterior joint between the window frame and the stucco or siding is a weather seal. If you remove old sealant and apply the wrong product, or apply the right product over a dirty or damp surface, you have just opened a leak path.
- Sliding door roller replacement: Removing a patio door panel is manageable for some, but a 150-pound glass panel that comes off its track can cause injury or damage fast. This is a two-person job at minimum, and often a one-visit fix for a professional with the parts already on the truck.
What a Professional Installation Actually Involves
When we set a window in a Wellington home, here is the sequence. It is worth understanding because it is the difference between a window that lasts twenty years and one that fails in three.
- Measure twice, in writing. Every opening gets measured at multiple points. Wellington homes settle, and a window opening that measures 36 inches at the top may measure 36 and 3/8 inches at the sill. The unit gets ordered for the actual opening, not the nominal size.
- Order to spec. The window is ordered to the opening size, with the correct frame material, glass package, and impact rating if required. Manufacturer lines are quoted side by side on paper so the homeowner sees exactly what they are buying, not a single option presented as the only option.
- Prep the opening. The old window comes out. The rough opening gets inspected for rot, termite damage, or water staining. Any compromised framing gets addressed before the new unit goes in.
- Set and square. The new window is set with shims, checked with a level in both planes, and anchored per the manufacturer’s tested method. The sash is operated before any sealant goes on.
- Flash and seal. Sloped sill flashing, jamb flashing, and head flashing go in in that order. The exterior gets sealed with a product rated for Florida’s humidity and UV exposure. Interior trim gets reinstalled or replaced.
- Register the warranty. Both warranty layers get registered in writing, with durations stated, before our truck leaves the driveway. The homeowner leaves with a document, not a promise.
- Clean up. The old window, packaging, and job debris leave with the crew. The work area is left broom-clean.
That is the process on every job at TruePane Windows & Doors, from a single bedroom window in a Wellington patio home to a full replacement package on a 4,000-square-foot property in Equestrian Club Estates.
Signs Your Existing Windows Need More Than a DIY Fix
Some Wellington homeowners call us assuming they need full replacement when a simple adjustment would do. Others call assuming a hardware fix will handle it when the window is structurally failing. Here is how to read what you are seeing.
Fix-it DIY territory:
- Window sticks when opening but the frame is square and the sash is aligned.
- Small draft at the bottom of a door that weatherstripping will resolve.
- Screen tears, loose handles, squeaky hinges.
Professional territory:
- Condensation between the glass panes that will not wipe away. The seal has failed and the IGU needs replacement.
- Visible daylight around the sash when the window is closed and locked. The weather seal is gone or the frame is out of square.
- Soft wood around the frame, peeling paint that will not stop peeling, or a musty smell near the window. That is rot, and it is moving into the framing.
- Windows that are hard to open even after cleaning the tracks and lubricating the hardware. The frame has shifted or the unit was installed wrong from day one.
- Doors that bind in July but close fine in January. That is a seasonal movement problem caused by the way the original install was done, and it is not something a homeowner fixes with sandpaper.
Common Mistakes to Avoid
- Buying a window before measuring. Supply-house windows cannot be returned once the protective film is off. Measure the actual opening top, middle, and bottom, then order to the smallest dimension. We see Wellington homeowners order by nominal size and end up with a unit that does not fit the opening that settled two decades ago.
- Skipping the permit to save time. The county inspection exists for a reason. An unpermitted window replacement becomes a problem at insurance renewal, at refinance, and at sale. The cost of the permit is a fraction of the cost of retroactive paperwork.
- Using the wrong sealant. Interior caulk goes on the inside. Exterior sealant goes on the outside. They are not interchangeable. The wrong product on the exterior will harden, crack, and let water through within one Wellington wet season.
- Ignoring the weep holes. The tiny slots at the bottom of the frame are drainage. Block them with paint, caulk, or debris and water pools inside the frame, leading to rot and glass failure.
- Assuming all impact windows are the same. Not all impact-rated products are equal, and not all are accepted by every insurance carrier. The product tested for your wind zone matters. Side-by-side manufacturer quotes on paper prevent buying the wrong rating.
- Forgetting that the warranty requires documentation. If the manufacturer’s warranty requires professional installation and your DIY install fails, the warranty is void. That is in the fine print, and the fine print is enforceable.
- Doing a full-house replacement one window at a time, DIY, over years. This is common in older Wellington neighborhoods. The result is a patchwork of mismatched units, uneven UV fading on framing, and an eventual professional install that costs more because the crew has to work around earlier DIY fixes.
When to Call a Professional
Call a professional when the project involves the building envelope. That means any window or exterior door replacement, any impact-rated product, any opening with signs of water damage or rot, any job that requires a permit, and any situation where the manufacturer’s warranty matters to you. Also call when the opening is out of square, when the unit is large or heavy, or when the existing install has already failed once. TruePane Windows & Doors offers free estimates in Wellington. Call (561) 349-4826 and a live person answers, 24/7.
Frequently Asked Questions
Professional window installation in Wellington typically runs $650 to $950 per standard opening, including the window, labor, flashing, trim, and disposal. Larger openings, impact-rated units, and custom shapes run higher. Call (561) 349-4826 for a written line-item quote on your specific windows. Estimates are free.
No. A DIY installation error that leads to water damage is generally classified as faulty workmanship, and most homeowner policies exclude coverage for losses caused by work you performed yourself. A professional install with documented warranty coverage shifts that liability to the installer and the manufacturer. That is one of the practical reasons Wellington homeowners hire licensed contractors for envelope work.
In most cases, yes. Palm Beach County requires permits for window and door replacements, and the inspection that follows verifies wind-load compliance, impact protection, and proper flashing. TruePane Windows & Doors pulls permits and schedules inspections on every job that requires them, so the paperwork is handled as part of the install.
Installing impact windows yourself will almost certainly disqualify you from the wind mitigation credits that make impact windows worth the investment in Wellington. Insurance carriers require installation documentation and often specific product ratings. A DIY install with no contractor’s invoice and no inspection record gives the carrier a reason to deny the credit. Call (561) 349-4826 for a free estimate on impact-rated units installed to the standard your insurer expects.
Most standard window replacements take 45 minutes to 2 hours per window once the crew is on site. A full-house package of 10 to 15 windows is typically completed in one to two days. Custom units may require 3 to 6 weeks for manufacturing before installation. We will give you a scheduled date and a clear duration when we quote the job.
The Done Right Promise covers workmanship on every TruePane Windows & Doors installation in Wellington. If it is not done right, we make it right, with no paperwork fights and no arguing. Both manufacturer warranty layers are additionally registered in writing before our truck leaves the driveway, with durations stated. That is The Keystone Standard, and it applies to every job we do.
The Bottom Line
The DIY versus professional decision in Wellington comes down to three questions: Does the project affect the building envelope? Does the warranty matter to you? Does your insurance premium depend on documented installation? If the answer to any of those is yes, hire a professional. The savings from DIY evaporate the first time a window leaks behind the drywall or a manufacturer denies a warranty claim. For Wellington homeowners planning to stay in their house twenty more years, the math favors doing it right the first time. Call (561) 349-4826 for a free estimate and a straight answer on what your project needs.
Written by Dale Kessler, Owner at TruePane Windows & Doors, serving Wellington since 2008.
Six Reasons Homeowners Choose TruePane Windows & Doors
Impact systems engineered to design pressures up to +/-100, matched to your wind zone - your openings hold when the storm arrives.
Low-E insulated impact glass from our manufacturer lines commonly cuts monthly cooling bills 20-30%.
Laminated impact glass shuts out up to 40% of outside noise - traffic, neighbors, weather.
Monitoring services run $30-90 a month. Laminated impact glass resists forced entry around the clock, with no subscription.
Florida homeowners average around 25% savings on the windstorm portion of their policy after protecting every opening - some homes qualify for more.
A full impact package upgrades curb appeal, buyer confidence and appraised value in one project.